'Basic' is exactly where The Hubs and I are right now.
 After our downstairs remodel 4 years ago, we moved our attention upstairs and updated the master suite and my office and made plans to re-carpet the hall and redo the guest bathroom and the other bedrooms as time and funds permitted.
But, a couple of months ago we noticed that downstairs, our beautiful new wood flooring was looking a little strange in places, and I could hear water when no water was on, specifically in the laundry room....
Three weeks later, with a slab leak under our belts, rerouted pipes, a storage crate on our driveway, flooring and drywall removed, and a week with noisy, hot, annoying drying machines, we have a large empty space and are looking at the basics once again...
Flooring. Paint. Moldings.

Basics every room in every home requires.
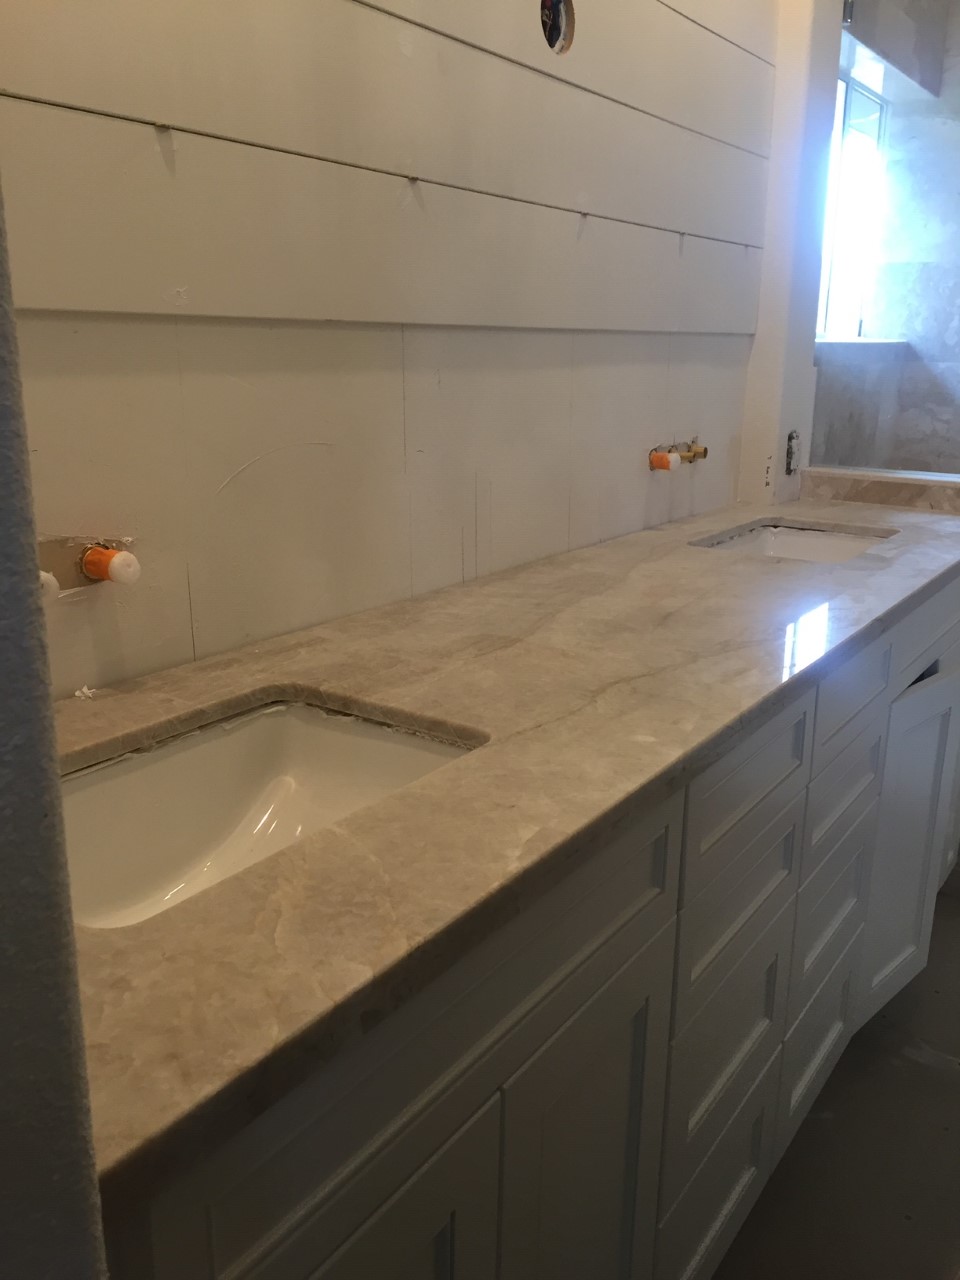
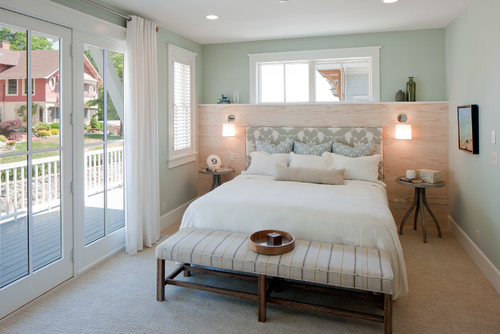
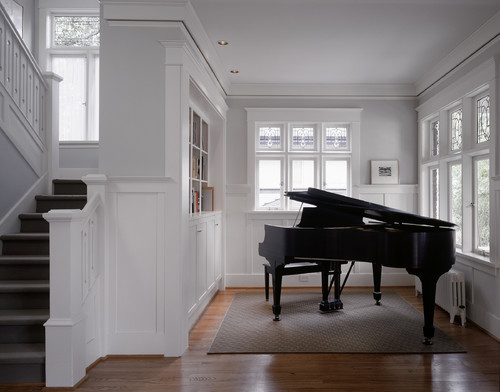
I am always amazed at the impact those 3 simple things can make in a space. As I do this daily, it probably should NOT amaze me - but the impact a change of paint color or flooring or the addition of some details like molding and trim have in a room - kind of blows me away. Every home needs floors and paint - and hopefully the choices made will add warmth, texture, color, interest and perhaps charm. These things alone can change a plain box into a place that invites.
Basics create the backdrop for everything that makes a house a home.
Over the years I have seen some really bad choices - (your contractor/painter is not your designer, no matter how sure he sounds about that paint color or that wainscoting style.) It helps to have a whole house plan and to carry the design aesthetic throughout the entire house.
I do love a room re-do from time to time, but this time our house is going back almost exactly as it was. We were happy with what we did in the remodel. Four years later we were still happy. We were lucky enough to be able to find the same gorgeous wood flooring to replace the damaged areas and were able to salvage the built-in bookcase. It looks good as new again. The Hubs is happily filling it with his beloved leather book collection as I write.
In the middle of this dusty disaster, I couldn't help thinking of the opportunity I had to make a few changes. Since we were basically a construction zone, including noise and dust, I add can lighting to the family room and changed the look of the mantle and fireplace (The Hubs has hated that fireplace for over 18 years - it came with the house - we were due for a change). The demo required us to replace the wainscot in the powder room, but I changed it up a little with a shiplap treatment. In the laundry room - a room I had yet to upgrade, we added a high board and batten wainscot and will add a sink and open shelving.
I've always had a big pet peeve in the family room - all the media cords! We have surround sound speaker cords, tv cords, blueray cords, receiver cords, cable cords - I have a big 'rat nest' jumble of them behind my media case. I'm quite sure there are several thousand feet of wire and cords we don't need back there, but I would never be able to put it all back together if I disconnected them. This is perfect timing to unravel that rats nest and make some sense of it.
Its been a few years since I've had the opportunity to really edit my home accessories. As I put things back into place, I'm taking the time to clean house and redo - something we should all do every few years so we don't fall into the 'hoarder' or 'clutter' category, or even worse - the 'out of date' category. In fact, if I'm honest, this is a perfect opportunity, as we unpack the big giant crate on the driveway, to KonMari our possessions. So, if it doesn't 'spark joy', it will be looking for a new home. I'm quite sure we will have quite a large KonMari pile.
Keep your fingers crossed for me!
 After our downstairs remodel 4 years ago, we moved our attention upstairs and updated the master suite and my office and made plans to re-carpet the hall and redo the guest bathroom and the other bedrooms as time and funds permitted.
But, a couple of months ago we noticed that downstairs, our beautiful new wood flooring was looking a little strange in places, and I could hear water when no water was on, specifically in the laundry room....
Three weeks later, with a slab leak under our belts, rerouted pipes, a storage crate on our driveway, flooring and drywall removed, and a week with noisy, hot, annoying drying machines, we have a large empty space and are looking at the basics once again...
Flooring. Paint. Moldings.

Basics every room in every home requires.
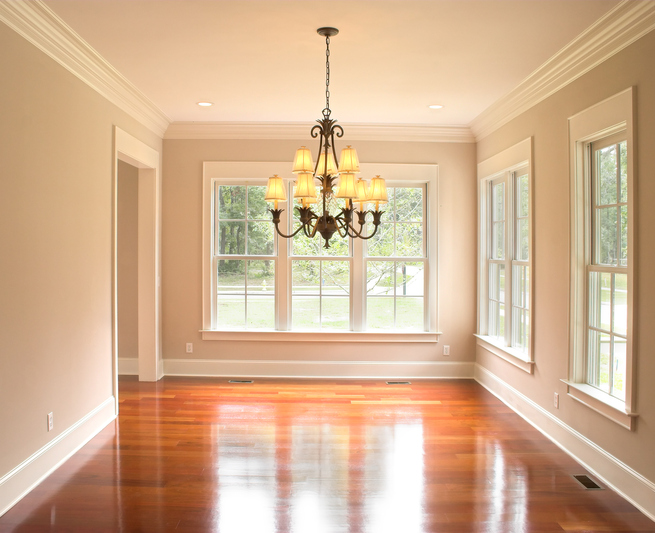
I am always amazed at the impact those 3 simple things can make in a space. As I do this daily, it probably should NOT amaze me - but the impact a change of paint color or flooring or the addition of some details like molding and trim have in a room - kind of blows me away. Every home needs floors and paint - and hopefully the choices made will add warmth, texture, color, interest and perhaps charm. These things alone can change a plain box into a place that invites.
Basics create the backdrop for everything that makes a house a home.
Over the years I have seen some really bad choices - (your contractor/painter is not your designer, no matter how sure he sounds about that paint color or that wainscoting style.) It helps to have a whole house plan and to carry the design aesthetic throughout the entire house.
I do love a room re-do from time to time, but this time our house is going back almost exactly as it was. We were happy with what we did in the remodel. Four years later we were still happy. We were lucky enough to be able to find the same gorgeous wood flooring to replace the damaged areas and were able to salvage the built-in bookcase. It looks good as new again. The Hubs is happily filling it with his beloved leather book collection as I write.
In the middle of this dusty disaster, I couldn't help thinking of the opportunity I had to make a few changes. Since we were basically a construction zone, including noise and dust, I add can lighting to the family room and changed the look of the mantle and fireplace (The Hubs has hated that fireplace for over 18 years - it came with the house - we were due for a change). The demo required us to replace the wainscot in the powder room, but I changed it up a little with a shiplap treatment. In the laundry room - a room I had yet to upgrade, we added a high board and batten wainscot and will add a sink and open shelving.
I've always had a big pet peeve in the family room - all the media cords! We have surround sound speaker cords, tv cords, blueray cords, receiver cords, cable cords - I have a big 'rat nest' jumble of them behind my media case. I'm quite sure there are several thousand feet of wire and cords we don't need back there, but I would never be able to put it all back together if I disconnected them. This is perfect timing to unravel that rats nest and make some sense of it.
Its been a few years since I've had the opportunity to really edit my home accessories. As I put things back into place, I'm taking the time to clean house and redo - something we should all do every few years so we don't fall into the 'hoarder' or 'clutter' category, or even worse - the 'out of date' category. In fact, if I'm honest, this is a perfect opportunity, as we unpack the big giant crate on the driveway, to KonMari our possessions. So, if it doesn't 'spark joy', it will be looking for a new home. I'm quite sure we will have quite a large KonMari pile.
Keep your fingers crossed for me!