OR HOW THREE FEET CHANGED MY LIFE...

There have been changes at the Barnett house..
Exciting changes, brought on by not so exciting events.
A kitchen slab leak, gave us the nudge we needed to take the remodeling plunge. We figured if we were going to have to replace flooring, wall board, paint and repair cabinets, we may as well just remodel the whole kitchen.
Right?
Right?
I actually love my little house.
But I hated that cramped kitchen
A remodel had been on my wish list for a long, long time.
A remodel had been on my wish list for a long, long time.
There is no getting around it.... a kitchen remodel is HELL, but we seemed to manage to take it to a whole new level.
We started the repair and renovation and then
We started the repair and renovation and then
just about everything else happened -
I traveled to Texas on business and landed in a hospital with a blood clot in my leg -
My sweet 97 year old mother passed away...
We had another slab leak.
We had to redo the plans because of new building code changes.
My sweet 97 year old mother passed away...
We had another slab leak.
We had to redo the plans because of new building code changes.
Because of the delays caused by the above life events,
our contractor had to take another job in the interim, and we had to wait again...
My oldest sister became seriously ill.
Life events - both good and bad...
We had them all.
our contractor had to take another job in the interim, and we had to wait again...
My oldest sister became seriously ill.
Life events - both good and bad...
We had them all.
In spite of having our entire downstairs torn up,
we decided to try to relax, and be grateful for the life we have.
We ate out a lot, ignored the dust and counted our blessings:
We have lovely memories of my Mother.
I survived the blood clot.
My sister is getting the care she needs.
and FINALLY - it was complete...
we decided to try to relax, and be grateful for the life we have.
We ate out a lot, ignored the dust and counted our blessings:
We have lovely memories of my Mother.
I survived the blood clot.
My sister is getting the care she needs.
and FINALLY - it was complete...
These are the BEFORE and AFTER views of my kitchen...
A peninsula separating the kitchen from the family room created a tight U-shaped space
So, we removed the peninsula, pushed out a wall in the family room,
and added an island
 And found slightly industrial style pendants
 with cute Edison style bulbs.

The old cabinets were solid wood
but that was about the only thing going for them...
yellow oak
ugly
cramped
showing their age...
Usable counter space? - don't get me started...
30 inches over the dishwasher next to the sink, then a tight corner next to the range,
followed by an even tighter corner between the range and the refrigerator.


Beneath the counter were small, narrow drawers and equally small cupboards
that were accessible only if I wanted to get down on my hands and knees.
Which I really didn't.
There were things lost in there...
waaaay back in the corners.


(Pardon the clutter, these photos were taken after the slab leak -
so stuff everywhere as we emptied cabinets......)

Not a large house here, folks... which is why the available space needs to be put to good use!
The architect for this home must have been
MAD, NUTS, BONKERS!
But we fixed all that....

So we pushed it out 3 feet because the second story overhang came out that far.
That seems small, doesn't it?
Hardly worth the effort.

 Going from the tired yellow oak cabinets to soft white was like night and day.
My kitchen isn't huge, but I feel we made the most of the space, and the change is dramatic. We had our first party here shortly after it was finished and I was delighted that there was room for everyone that wanted to help or just hang out and talk.


 |
| (Before) |
on one side of the kitchen. (Just try to get more than one person in there preparing meals..)
The peninsula made the area too tight to have any sort of island or prep area...
and I REALLY wanted an island.
The peninsula made the area too tight to have any sort of island or prep area...
and I REALLY wanted an island.
 |
| (Before) |
So, we removed the peninsula, pushed out a wall in the family room,
and added an island

 with cute Edison style bulbs.

but that was about the only thing going for them...
yellow oak
ugly
cramped
showing their age...
Usable counter space? - don't get me started...
30 inches over the dishwasher next to the sink, then a tight corner next to the range,
followed by an even tighter corner between the range and the refrigerator.
 |
| (Before) |
Oh, and OAK.
Did I already say that?
Did I already say that?
Yes, we were long overdue for a change...
We'd never changed the previous owner's choices in this room,
not even the paint,
because we planned to remodel and didn't want to do everything twice.

not even the paint,
because we planned to remodel and didn't want to do everything twice.

We chose black honed granite counters (Zimbabwe)
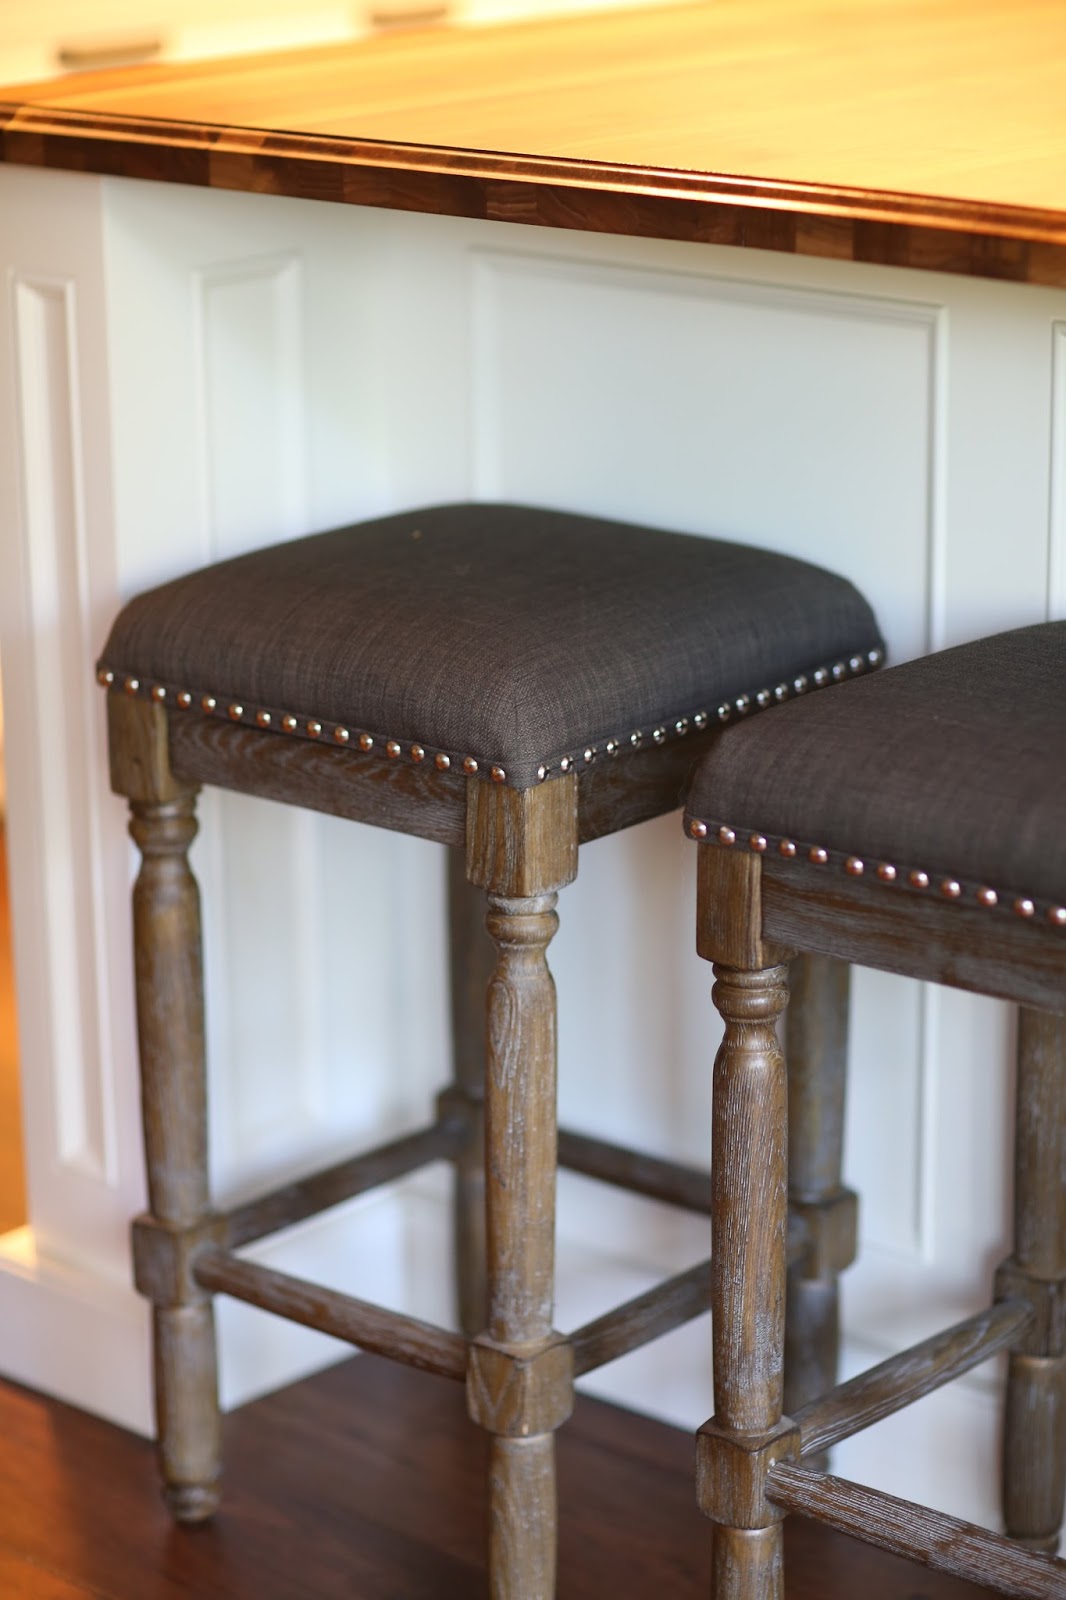
and on the island, beautiful walnut butcher block.


It reminds me of furniture.
Breaking up the range/oven/microwave into a cook top and wall oven/microwave combo
made cooking much easier - especially with more than one person in the kitchen

that were accessible only if I wanted to get down on my hands and knees.
Which I really didn't.
There were things lost in there...
waaaay back in the corners.

Instead of bottom cupboards, we opted for deep drawers wherever possible.
They open effortlessly and close softly.
I'm in kitchen heaven.
No more digging in cabinets on my hands and knees...
We chose bronze toned pulls for the drawer hardware and knobs
in a clean lined style that compliments the dark granite and the simplicity of the cabinets.
We chose bronze toned pulls for the drawer hardware
 and knobs
in a clean lined style that compliments the dark granite and the simplicity of the cabinets.

We wanted to have a beautiful back splash without the eyesore of ugly outlets dotting the wall, so we had the electrician install outlet strips under the upper cabinets along with led lighting.
A white kitchen can look cold and stark if you aren't careful -

To counteract all the whiteness we chose subway shaped (3"x 6") marble for the back splash.
It was still light in color, but had creams, grays and beige.
We had it installed super close together - no grout lines!
 |
| (Before) |
Before, there was nothing on the other side of the room, but a small pantry cabinet.
I hated that there were only cabinets on one side of the room.
I really only had half a kitchen...
I really only had half a kitchen...
 |
| (Before) |
so stuff everywhere as we emptied cabinets......)
We moved the sink (formerly in the peninsula) to the window. We installed a 16 gauge stainless steel sink - single bowl - which I love. Most common gauge for sinks is 18 - 22 gauge - the smaller the gauge, the thicker the steel. 16 gauge will be stronger and thicker than the 18-22 gauge.
 sink - single bowl - which I love. Most common gauge for sinks is 18 - 22 gauge - the smaller the gauge, the thicker the steel. 16 gauge will be stronger and thicker than the 18-22 gauge.
We added lower cabinets and wall ovens to that side of the room. For the kitchen faucet I chose streamlined stainless by Hansgrohe.


Not a large house here, folks... which is why the available space needs to be put to good use!
The architect for this home must have been
MAD, NUTS, BONKERS!
But we fixed all that....
No more 1/2 kitchen!
None of this would have been possible without the remodel.
Our kitchen's outer wall actually extended 5 feet beyond the adjacent family room outer wall.
We decided to bump out the family room wall a little in order to open up the floor space in the kitchen.
Our kitchen's outer wall actually extended 5 feet beyond the adjacent family room outer wall.
We decided to bump out the family room wall a little in order to open up the floor space in the kitchen.

So we pushed it out 3 feet because the second story overhang came out that far.
That seems small, doesn't it?
Hardly worth the effort.
But those 3 feet changed our lives.
It opened up the entry to the kitchen, creating more usable floor space,
and made this whole renovation possible.
It opened up the entry to the kitchen, creating more usable floor space,
and made this whole renovation possible.
Its amazing how three feet can change a room.
New windows and french doors in place of the sliders were also added.


I cannot describe how just that change made the entire space feel.
My kitchen isn't huge, but I feel we made the most of the space, and the change is dramatic. We had our first party here shortly after it was finished and I was delighted that there was room for everyone that wanted to help or just hang out and talk.

After waiting so long for the remodel, we wanted to make sure the cabinets we chose were good quality. A Plus Kitchens created my custom cabinets. They are simply the best. They manufacture their own cabinets with full 1 inch thick doors and drawer fronts, wonderful finishes and impeccable craftsmanship. I chose a soft white finish to make my space feel light filled and spacious. They helped me to design my cook-top hood and worked with me on all the little details...


Best,
Claudine


